
The Pi Hut Advent Calendar in C++
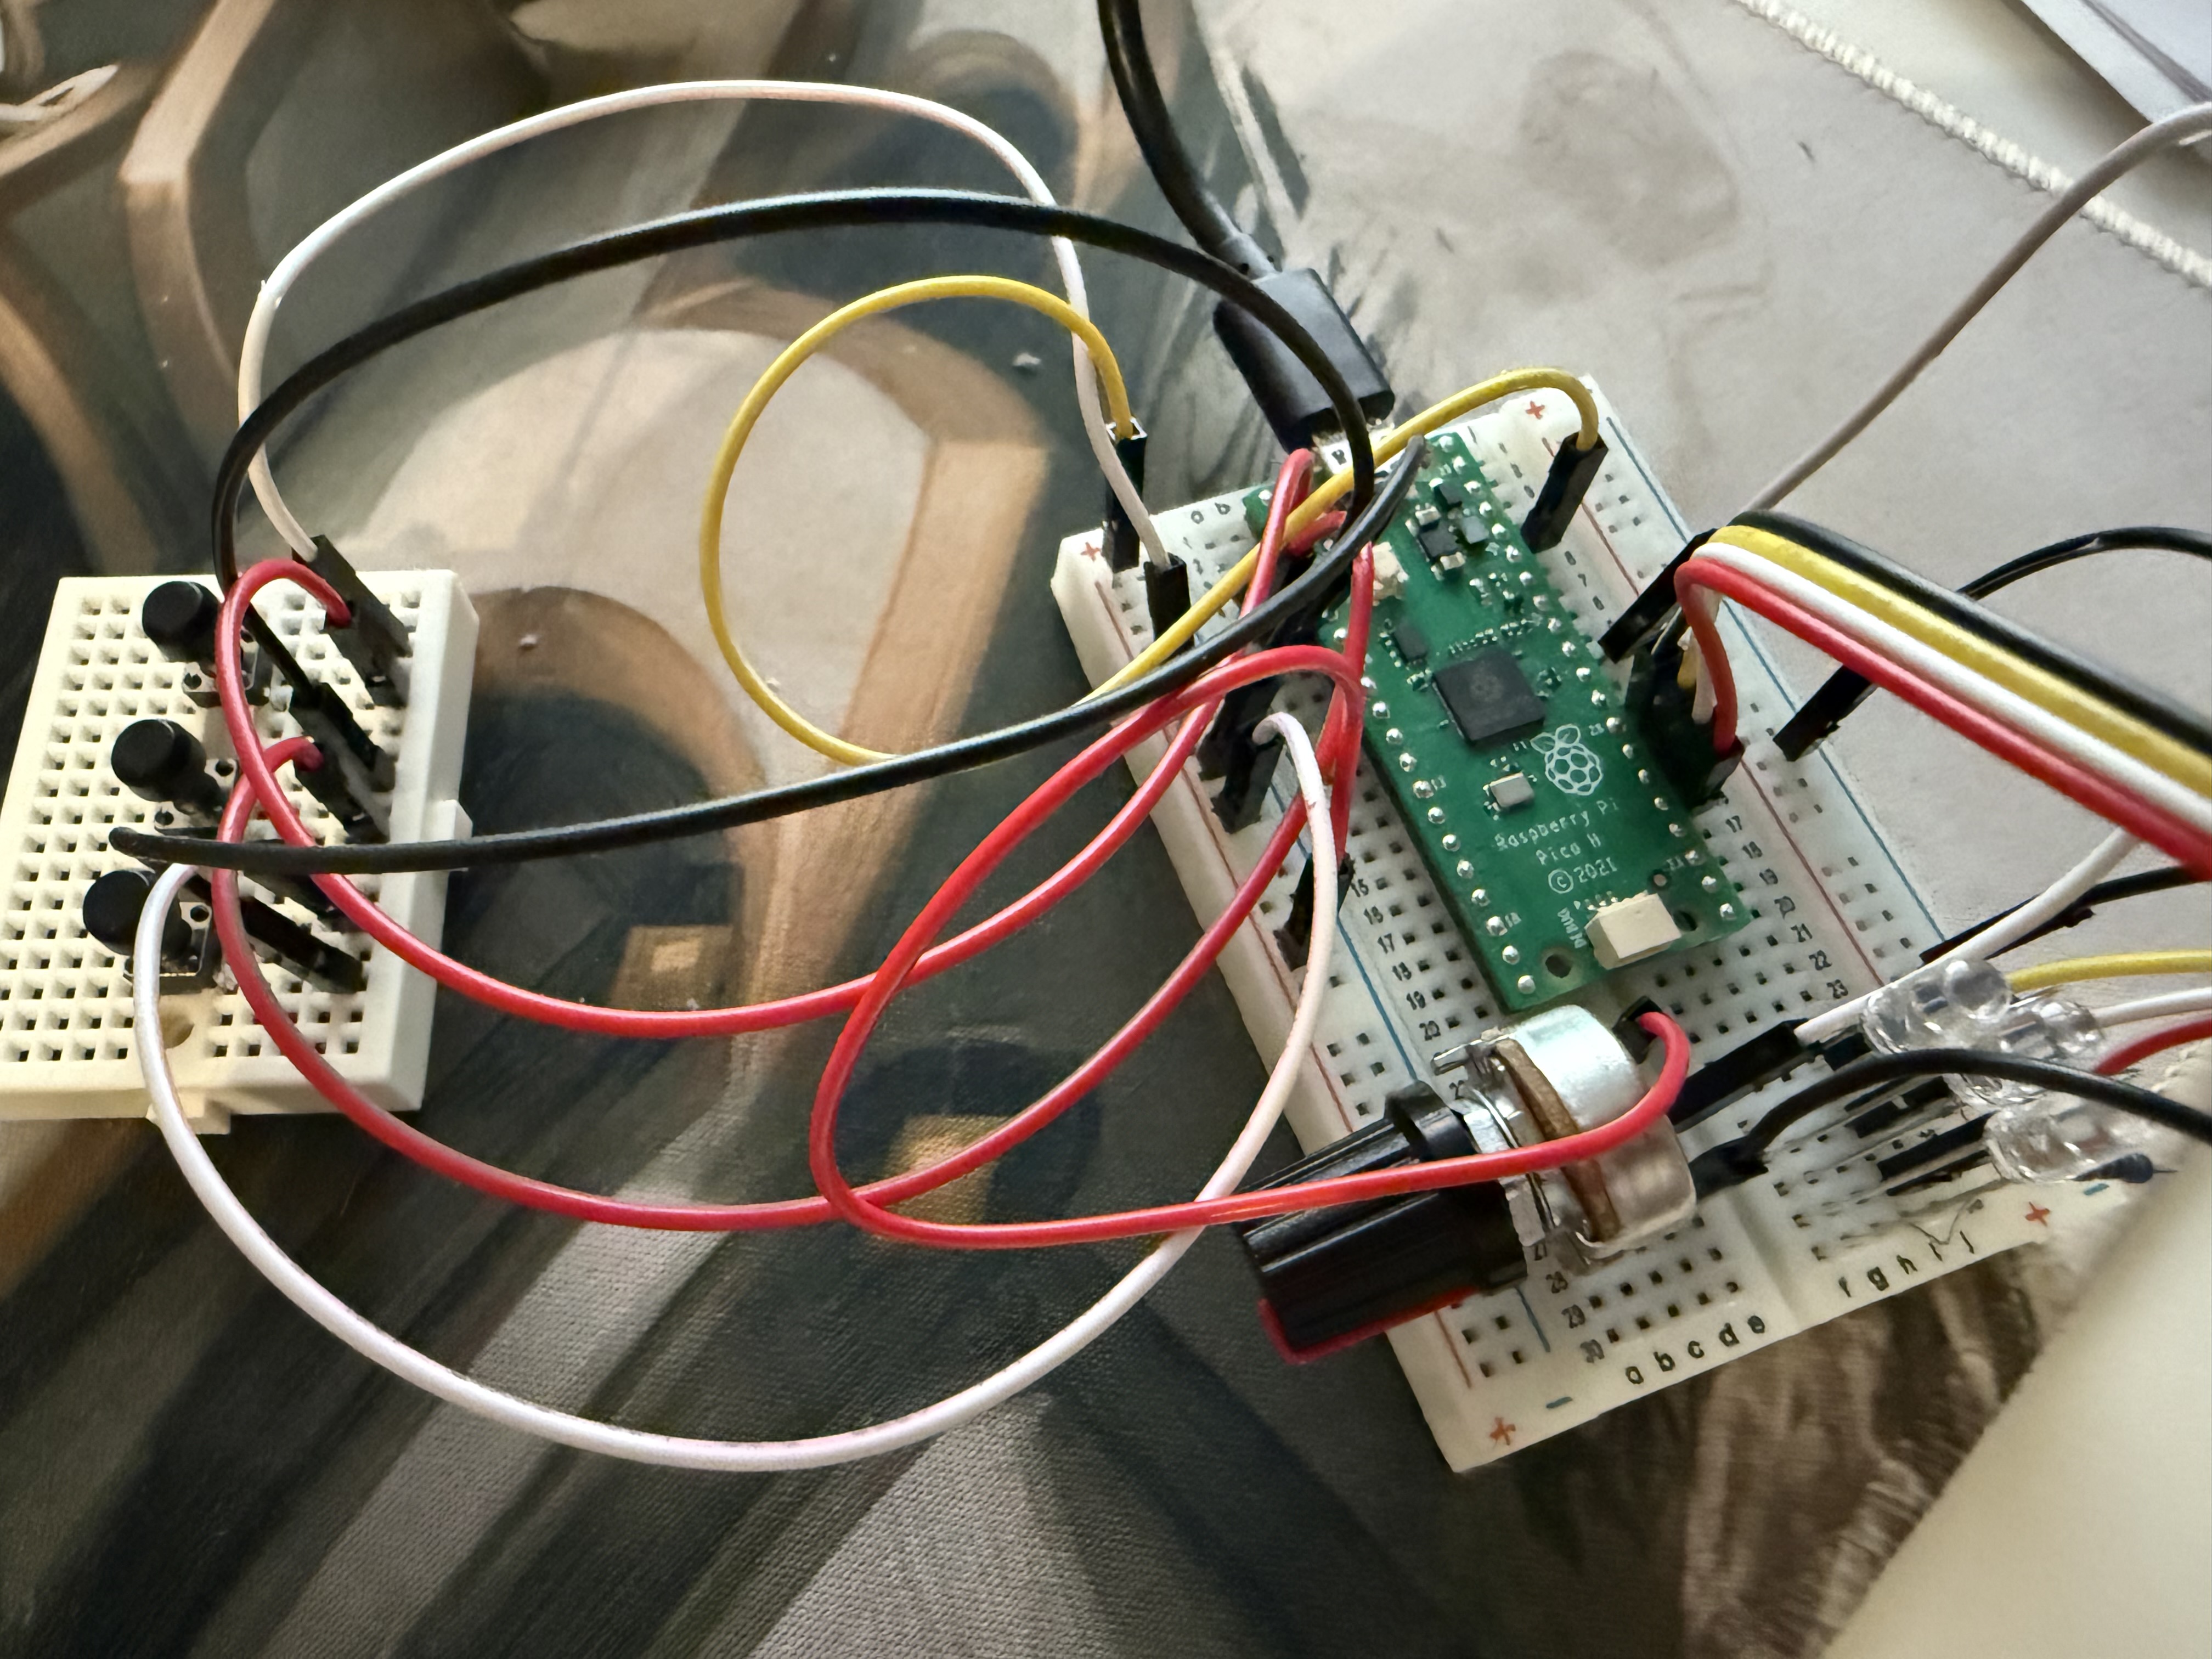
This December I got myself The 12 Projects of Codemas advent calendar from The Pi Hut. It comes with a Raspberry Pi Pico H and a bunch of electronic components — LEDs, buttons, sensors, displays — everything you need to learn embedded programming through 12 daily projects.
The official guides use MicroPython, which makes perfect sense for beginners. But I decided to take the harder path: implement everything in C++ using the Pico SDK. Why? Because that’s where the real learning happens.
The Journey
Days 1-3: The Basics
Day 1 was the classic “Hello World” of embedded systems — blinking the onboard LED. Simple, but satisfying to see that first blink.
Day 2 brought four external LEDs. Naturally, I had to see how fast they could actually blink. The answer: pretty darn fast.
Day 3 added three buttons. Input handling, debouncing, the usual suspects.
Day 4: Going Off-Script
Here’s where things got interesting. Day 4 introduced a potentiometer (a knob), and the official guide had some basic exercises. But I had different plans.
I built a custom metronome — the knob controls tempo, and the three buttons switch between different blinking modes. It was my first real creative diversion from the curriculum, and way more fun than following instructions.
Day 5: Making Some Noise
The buzzer day was perfect for two experiments:
First, I programmed it to play “Through Fire and Flames” by DragonForce. Yes, the entire song. On a tiny buzzer. Was it good? No. Was it hilarious? Absolutely.
Second, I turned my visual metronome into an audio metronome:
Days 6-7: Sensors
Day 6 had a light sensor — straightforward analog input reading.
Day 7 featured a motion detector. Wave your hand, trigger an LED. Simple but effective.
Day 8: The Deep Dive
This was one of my favorite days. The DS18B20 temperature sensor uses the 1-wire protocol, and instead of using a library, I decided to implement the protocol from scratch.
Reading the datasheet, understanding the timing requirements, bit-banging the communication — this is the kind of low-level learning that makes embedded programming so rewarding:
Days 9-10: Skipped
The tilt sensor and break beam sensor didn’t seem interesting enough to warrant the time. Sometimes you have to prioritize.
Day 11: Talking to a Display
The OLED display was another highlight. Learning I2C protocol, figuring out how to render text, and then combining it with the temperature sensor from Day 8 to create a live room temperature monitor:
Day 12: The Grand Finale
WS2812 RGB LEDs — the addressable LED strips that everyone loves. But here’s the thing: driving them properly requires precise timing that’s hard to achieve with regular GPIO.
Enter PIO (Programmable I/O) — the Pico’s secret weapon. It’s essentially a mini state machine that runs independently of the CPU, perfect for timing-critical protocols. Learning to program PIO was the highlight of the entire project:
What I Learned
Beyond the individual components, the real value was in understanding:
- 1-wire protocol from the ground up (Day 8)
- I2C communication and display rendering (Day 11)
- PIO programming - a fantastic feature unique to the RP2040 (Day 12)
Each of these would have been a black box if I’d just used MicroPython libraries. By implementing them in C++, I actually understand what’s happening at the protocol level.
The Code
All the code is on GitHub: tswr/ThePiHutAdvent
If you’re thinking about getting one of these calendars, I highly recommend taking the C++ path. It’s harder, but you’ll learn so much more. And if you do use MicroPython, at least peek under the hood occasionally - the real magic is in the details.